

Add products to your store with pricing, images, and specifications.
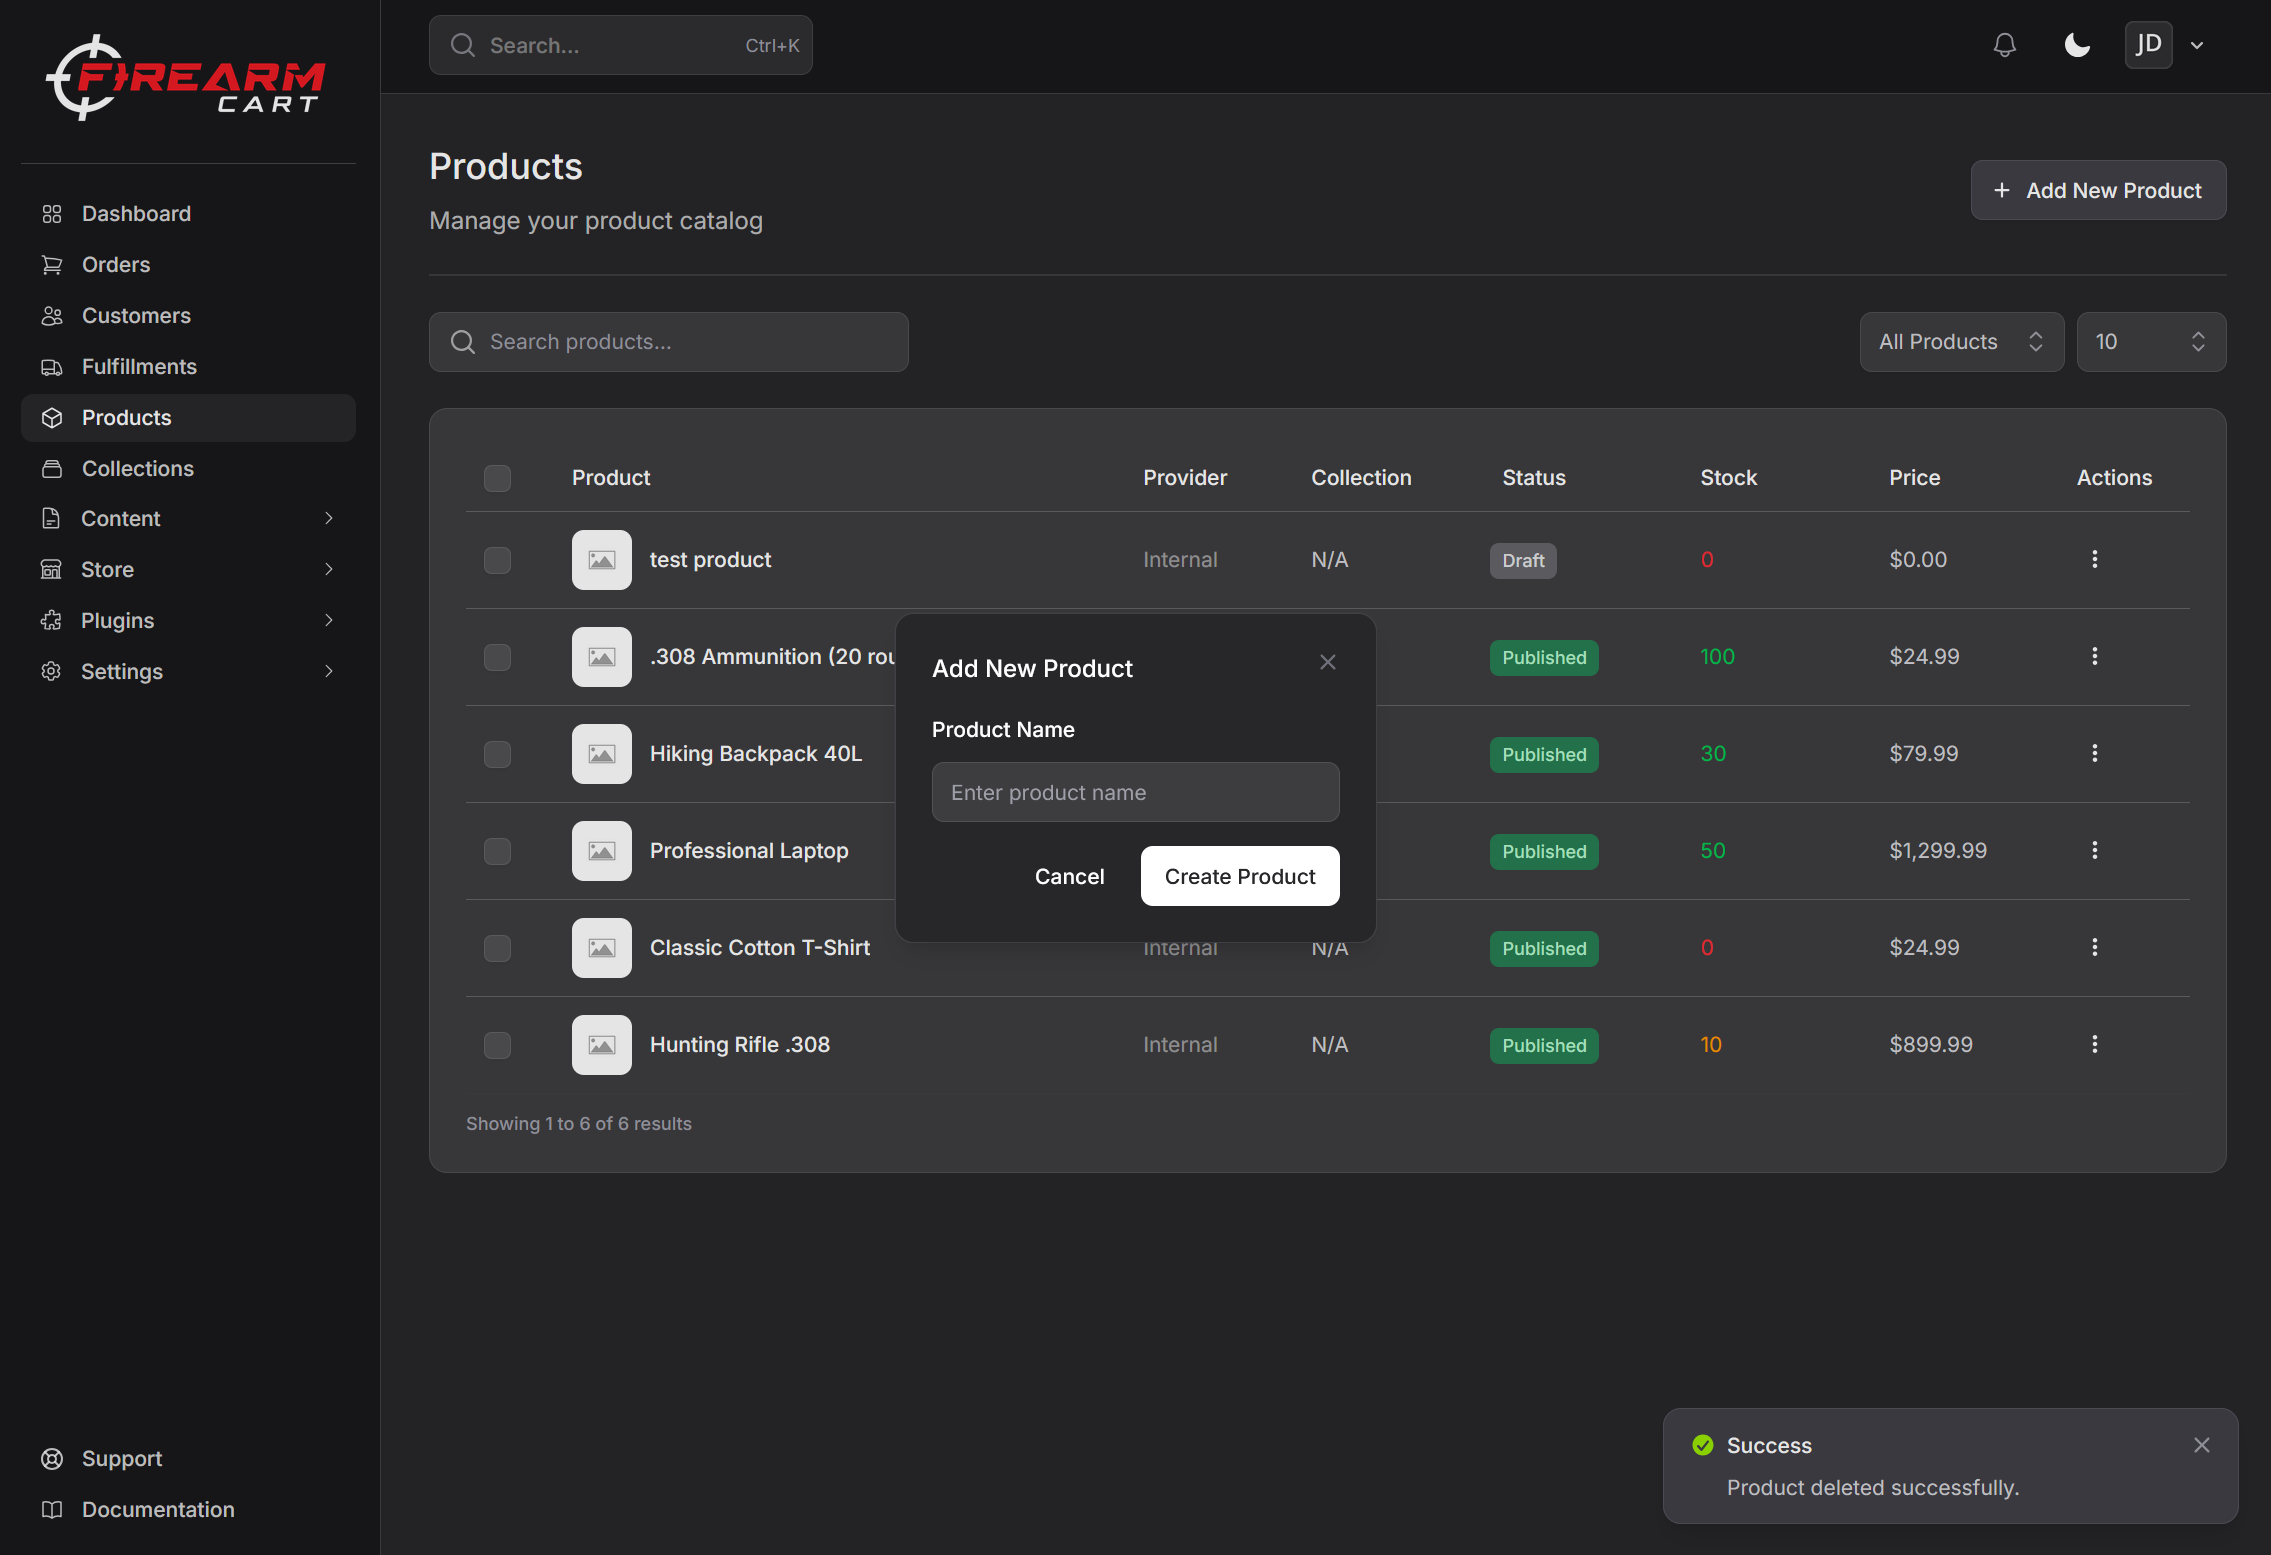
Adding a New Product
- Navigate to Products
- Click Add New Product
- Enter the Product Name
- Click Create Product
- Fill in product details
- Click Save Product
New products are created as Draft so they are not visible on your store until you set them to Active.
Basic Information
Product Name
The product name displayed to customers.
Examples:
- “Glock 19 Gen 5 9mm Pistol”
- “Federal American Eagle 9mm 115gr FMJ - 50 Rounds”
Description
Enter a detailed product description. The description editor’s toolbar includes a Description Generator (sparkles) button: click it, optionally add instructions to guide the result, then click Generate.
Product Type
Choose the product type from the searchable Product Type dropdown. The list is a predefined taxonomy (for example Handguns, Rifles, Shotguns, Ammunition, Accessories) — you cannot type a free-form value.
Product type matters: it drives FFL compliance (whether the item must ship to a licensed dealer for transfer) as well as shipping compliance and carrier restrictions for handguns, long guns, and ammunition.
Pricing
| Field | Description |
|---|---|
| Price | The selling price customers pay |
| Compare at price | Original price shown crossed out (for sales) |
| Cost per item | Your cost (not shown to customers) |
| Markup | Your intended markup, as a percentage of cost |
| Profit | Read-only — calculated from price and cost |
| Margin | Read-only — calculated from price and cost |
Profit and margin are recalculated automatically as you change the price or cost. Price and markup stay in step with each other: editing one updates the other.
For products sourced from a distributor, the cost field is read-only and shows the selected supplier’s cost. An Auto-update price on cost change switch controls whether a sync recalculates the price from your markup when the supplier’s cost moves. Whether that recalculation follows the cost both ways, only raises the price, or never runs is your store’s Supplier Cost Changes policy under Fulfillment settings.
SKU and Barcode
These fields live in the Inventory card.
| Field | Description |
|---|---|
| SKU (Stock Keeping Unit) | Your internal product identifier |
| Barcode (ISBN, UPC, GTIN, etc.) | UPC/EAN barcode |
Both are searchable from the products list.
Inventory
Track Inventory
Enable to track stock levels:
- Toggle Track inventory on
- Enter the current Stock on hand
- Optionally enable Continue selling when out of stock for backorders
Specifications
Specifications are stored as a list of name/value pairs:
- Click + next to Specifications
- Choose a specification name from the dropdown, or pick Other to enter your own name
- Enter the value
- Click Save
Examples:
- Caliber: 9mm
- Barrel Length: 4.02“
- Capacity: 15+1
Shipping
Weight and Dimensions
Enter product weight and dimensions for shipping calculations:
| Field | Options |
|---|---|
| Weight | lb, kg, oz, g |
| Dimensions | in, cm, mm |
Physical Product
Toggle This is a physical product for items that require shipping.
Tax Code
The Tax Information card only appears when your team has an active tax plugin.
- Find the Tax Code field
- With Avalara or TaxJar active, choose from the searchable list of tax codes pulled from the provider (use the refresh button to re-fetch them). With any other tax provider, type the code into the field
- Save
Collection
Assign the product to a collection:
- Find the Collection dropdown
- Select a collection
- Save
Products can belong to one collection. Clear the dropdown to remove the product from its collection.
Product Status
| Status | Description |
|---|---|
| Active | Visible and purchasable on your store |
| Draft | Hidden from customers |
Pick the status from the dropdown in the Product Status card, then save.
Fulfillment
There is no fulfillment-type picker on the product form. Fulfillment sources are managed in the Supplier / Suppliers card, which appears once the product has at least one supplier source — for example after it is imported from a connected distributor.
- A product you create by hand has no Suppliers card. Its stock lives in the Inventory card and you pick and ship the orders yourself
- A product imported from a connected distributor carries that distributor as a supplier row, and its pricing, inventory, and shipping fields are read-only because they sync from the distributor. Printify imports also create size/color variants from the shop listing — see Printify
- Once a Suppliers card exists, the Internal button on it adds your own stock as an extra fulfillment source
- A product can carry several suppliers at once (see Inventory). Click the star on a row to mark it preferred — the preferred supplier is used for automatic fulfillment
- Click a supplier row to view its SKU, cost, and stock in the Pricing, Inventory, and Shipping cards
The Lock suppliers switch in the Product Status card excludes the product from automatic UPC merging during distributor imports.
Related Documentation
- Product Variants - Manage product variations
- Collections - Organize products
- Inventory - Stock management
- Product Media - Images