Store Information
Set up your store's basic information including your business name, contact details, logo, and social media links.
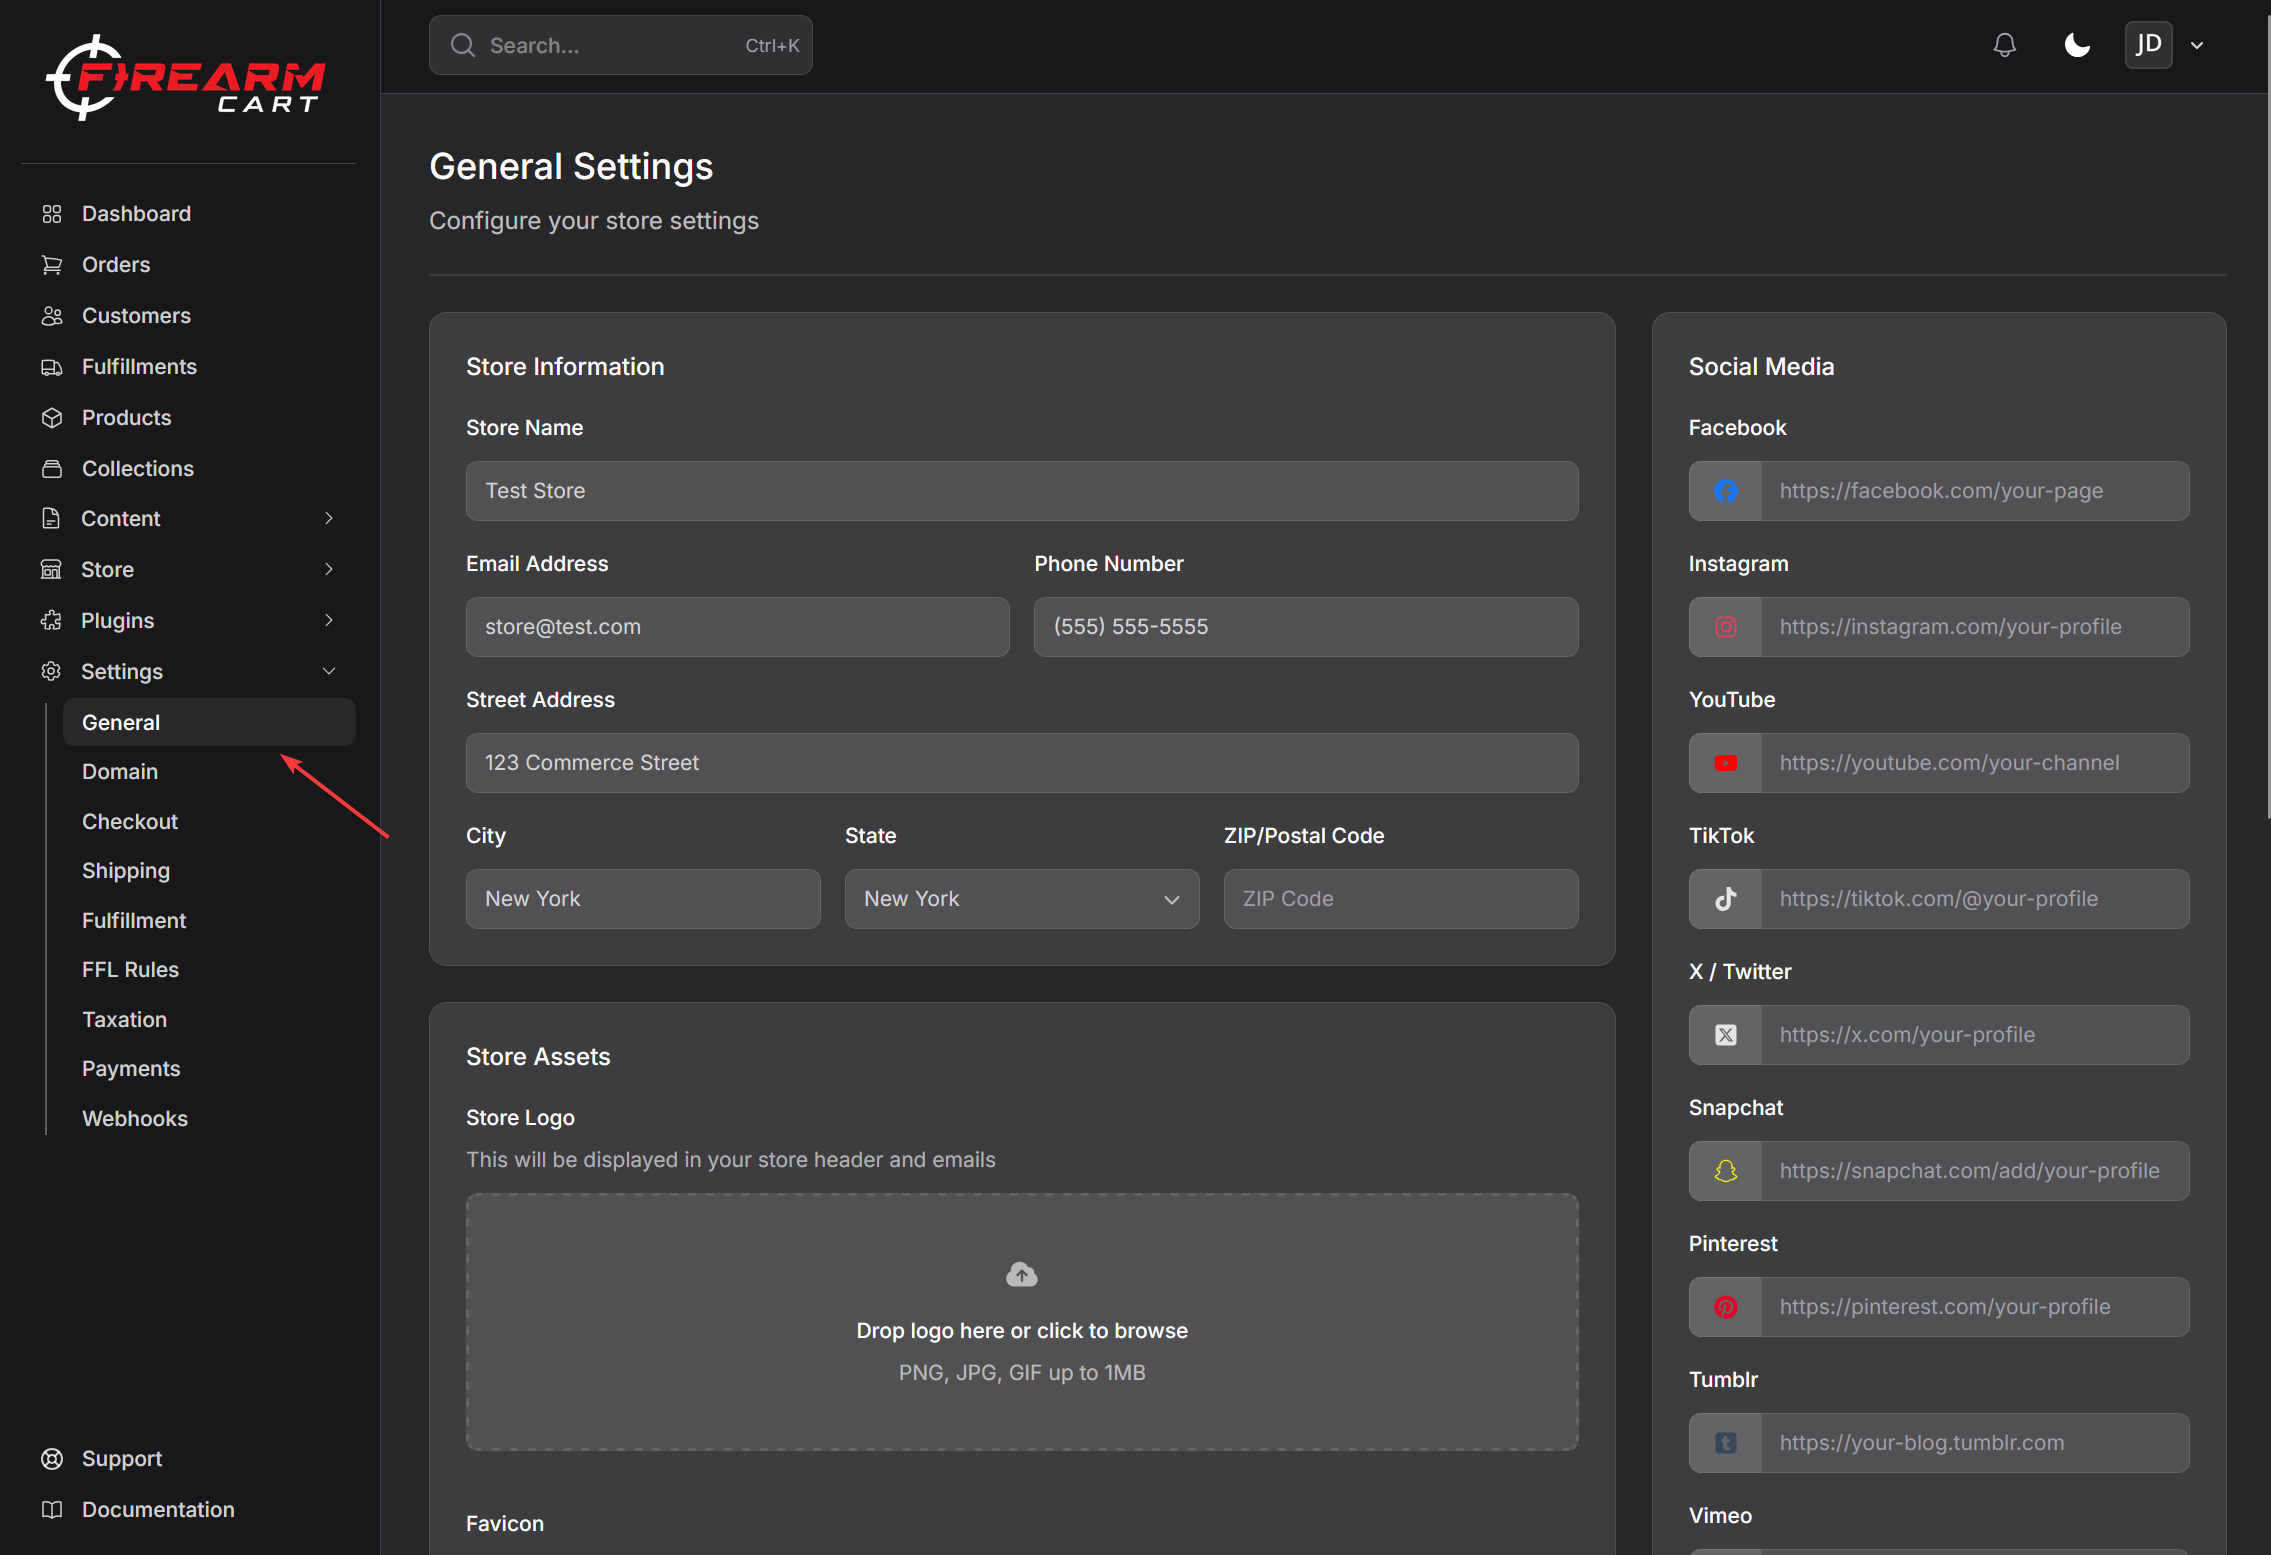
Accessing Settings
- Go to Settings > General
- Update your store information
- Click Save
Basic Information
Store Name
Your store name appears in the header, emails, and browser tabs.
Contact Details
| Field | Description |
|---|---|
| Your main business email for customer inquiries | |
| Phone | Your business phone number |
About the Email field: This email appears as the
Reply-Toon every customer message your store sends, so replies come straight to you. If you also set up branded email on your primary domain and the Email field matches that domain (e.g.[email protected]), outgoing messages will send from that address too — otherwise they send from a defaultorders@on your domain.
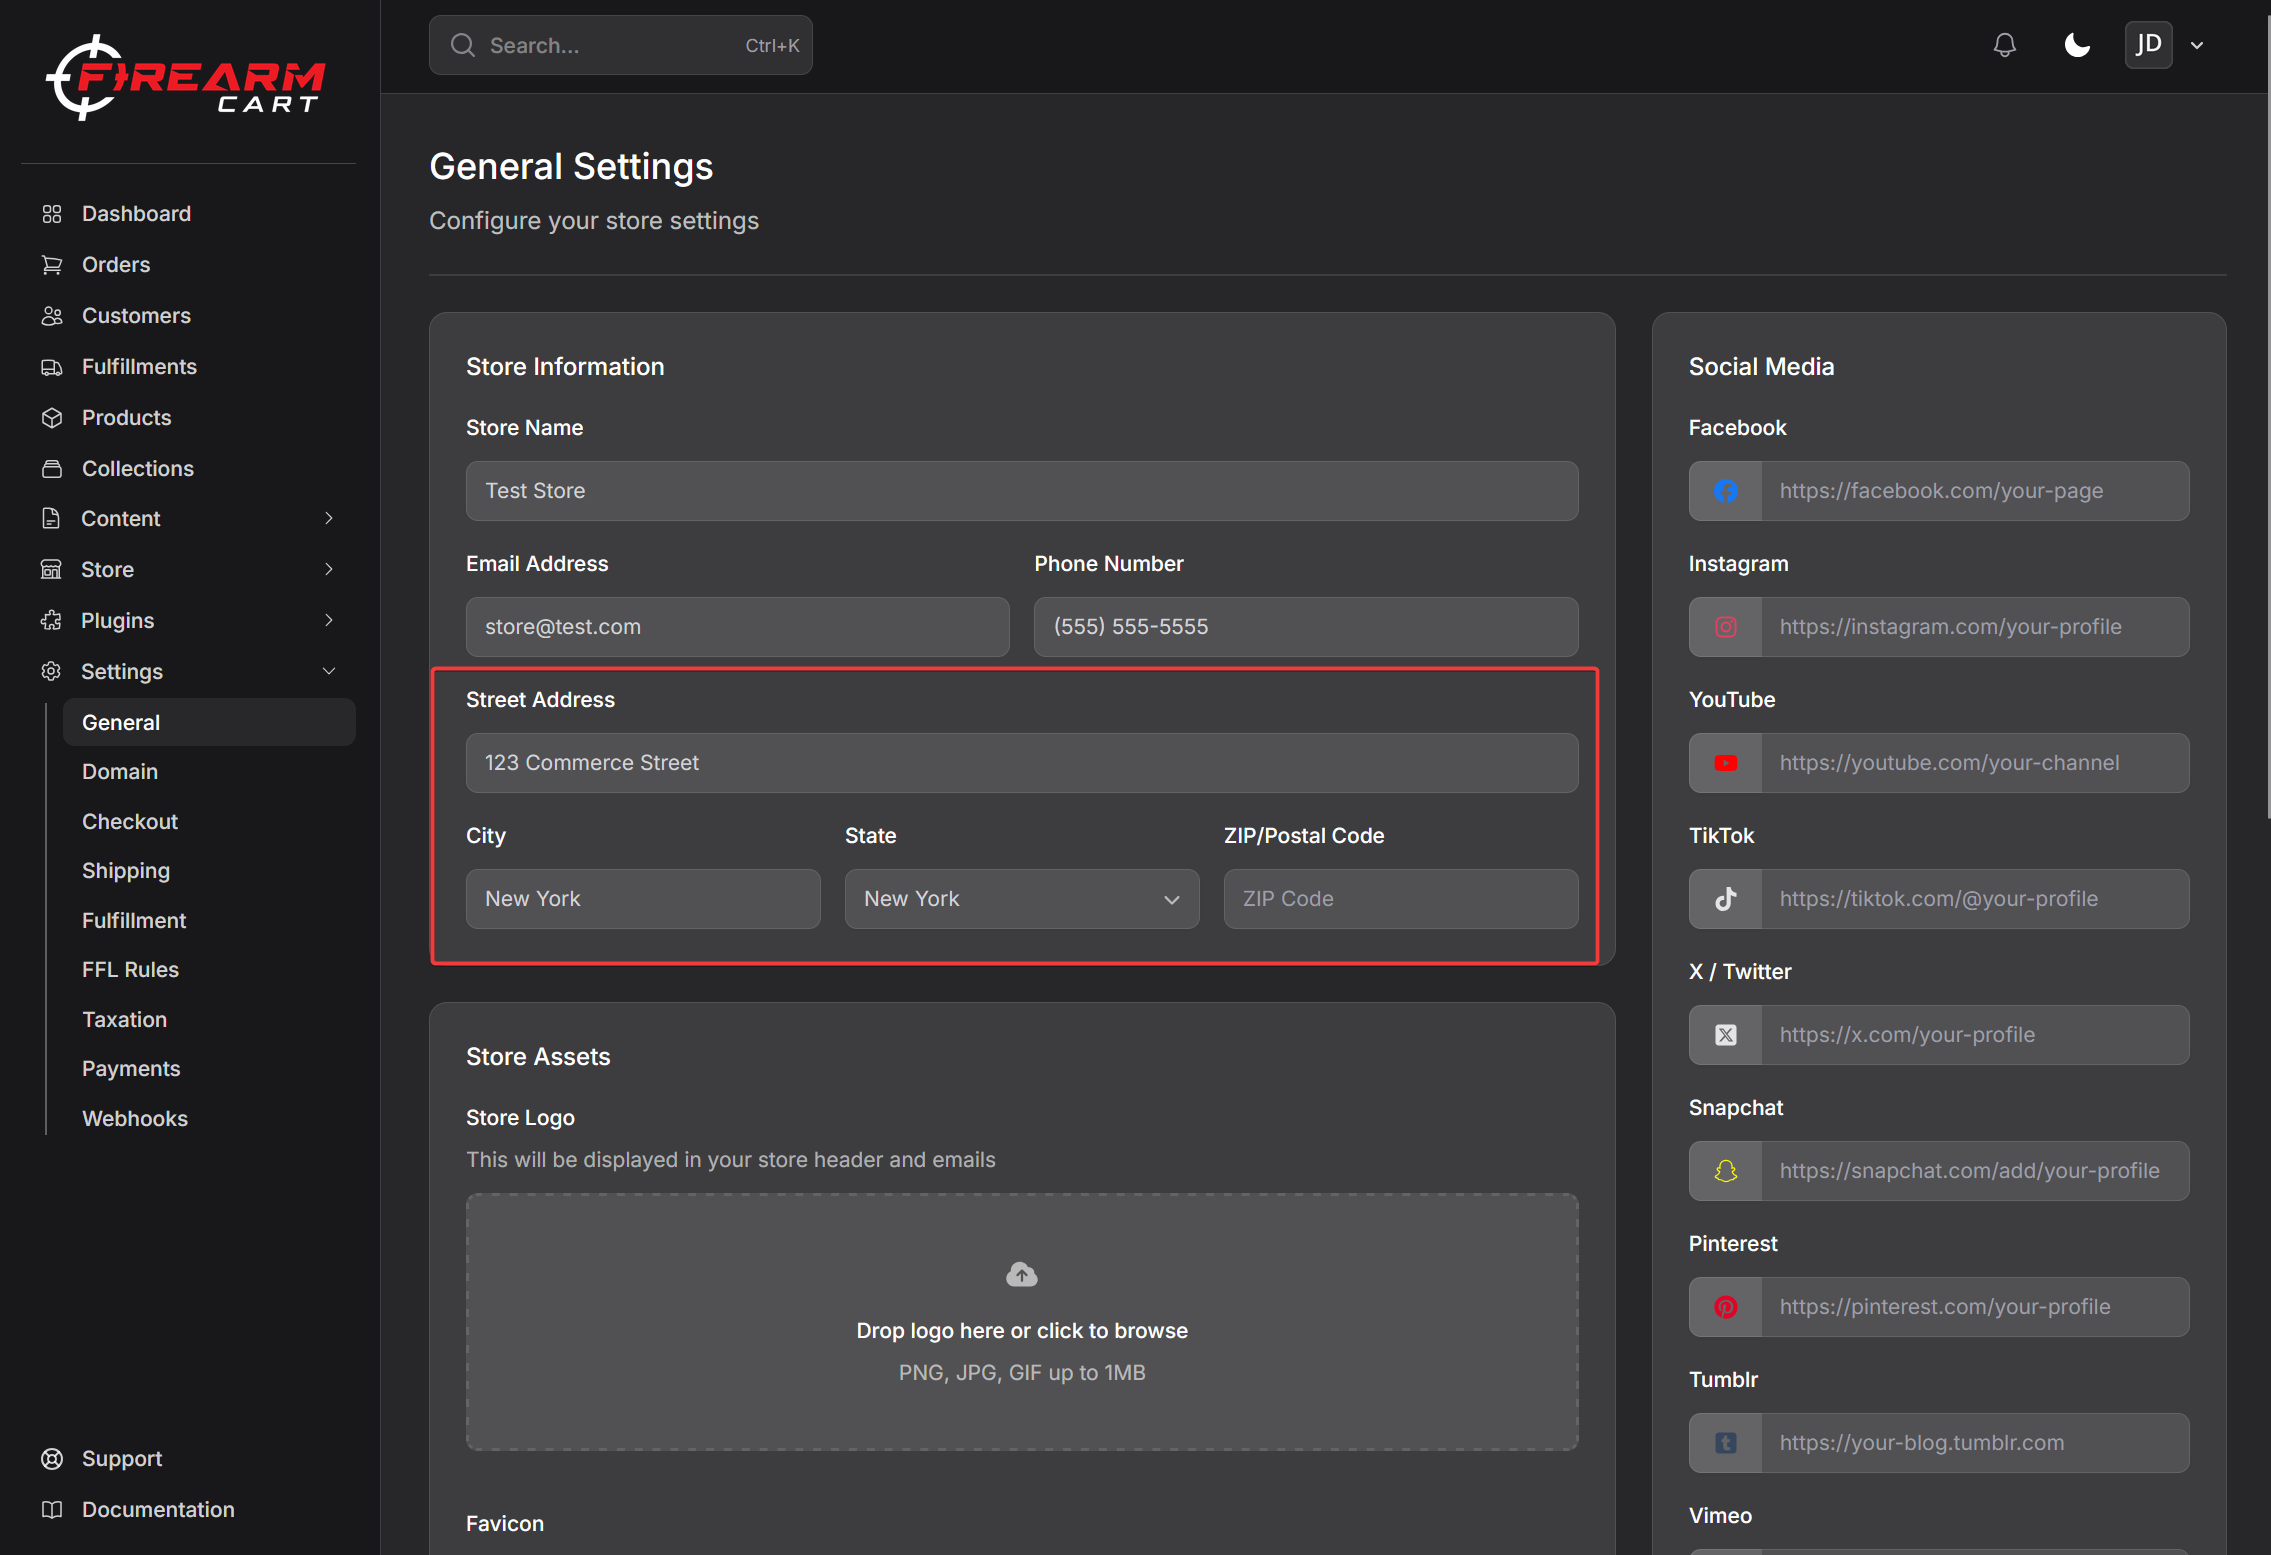
Business Address
Enter your physical business location:
- Street Address
- City
- State
- ZIP Code
- Country
Note: A physical address is required for FFL dealers. PO Boxes are not accepted.
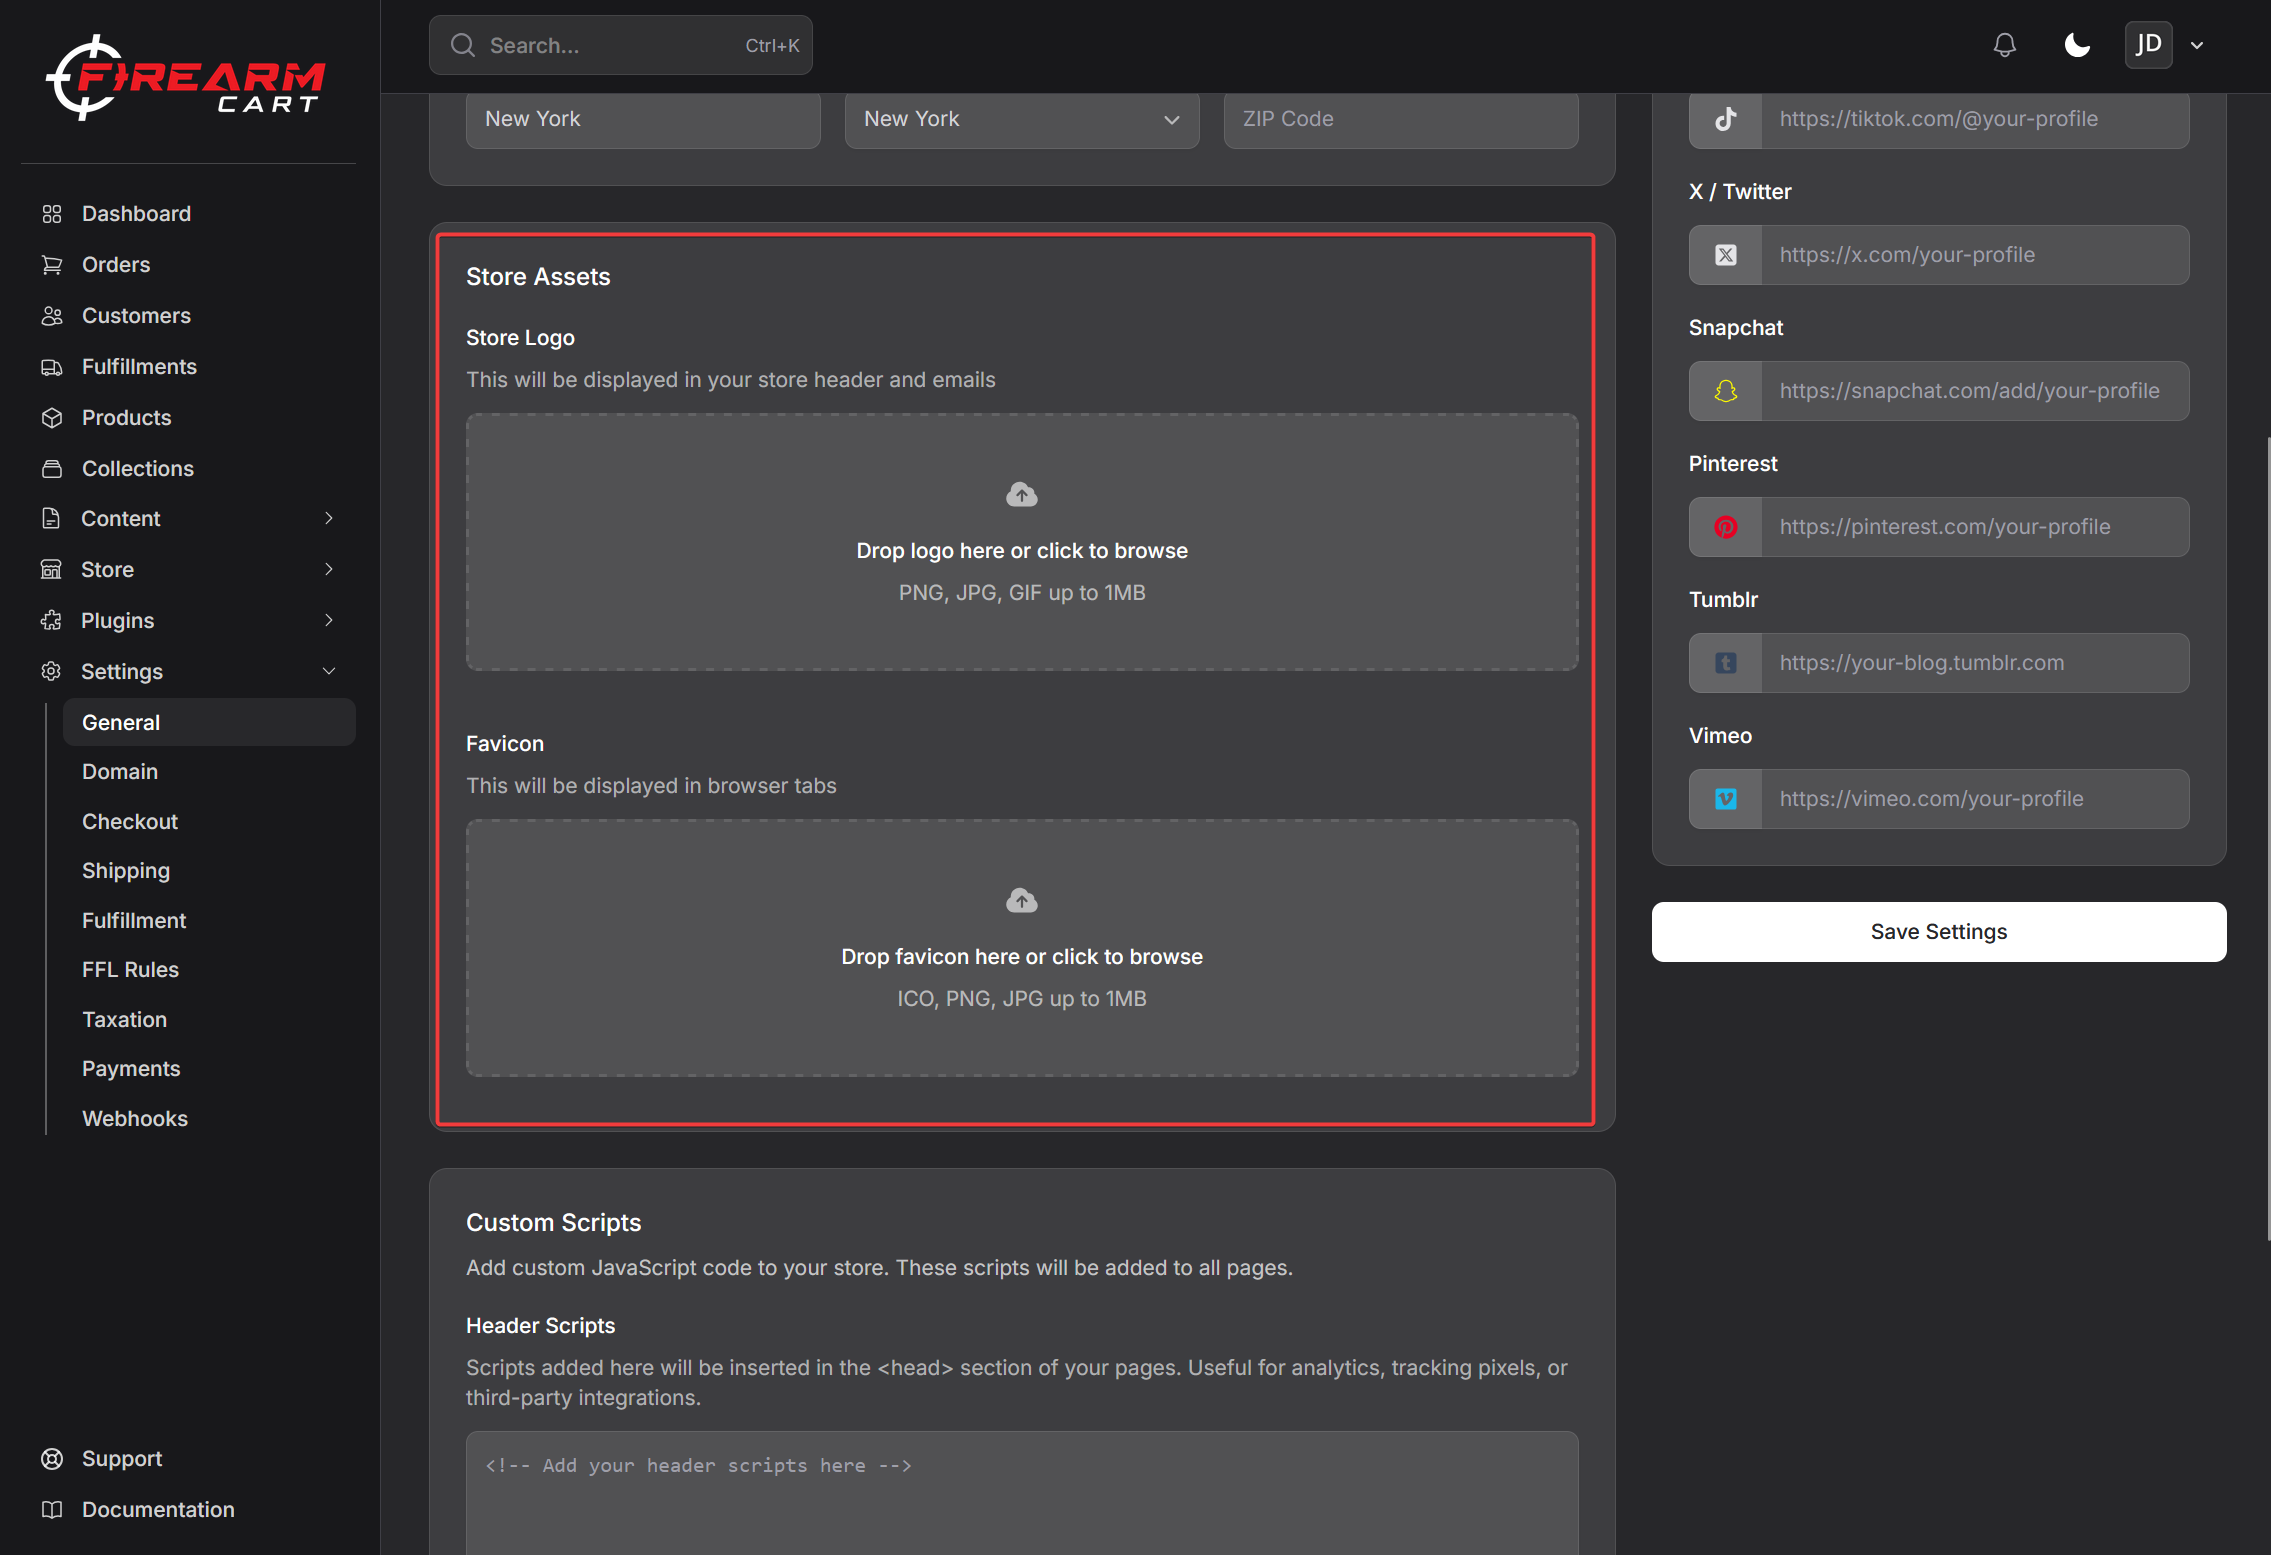
Store Branding
Logo
Upload your store logo to display in the header.
To upload a logo:
- Click the logo upload area
- Select your image file
- Click Save Settings
Recommended specs:
- PNG format with transparent background
- Max file size: 2 MB
Favicon
Upload a square image for browser tabs and bookmarks.
To upload a favicon:
- Click the favicon upload area
- Select a square image
- Click Save Settings
Social Media Links
Connect your social media profiles so customers can find you:
- YouTube
- TikTok
- Snapchat
- Tumblr
- Vimeo
Enter the full URL for each profile (e.g., https://facebook.com/yourstore).
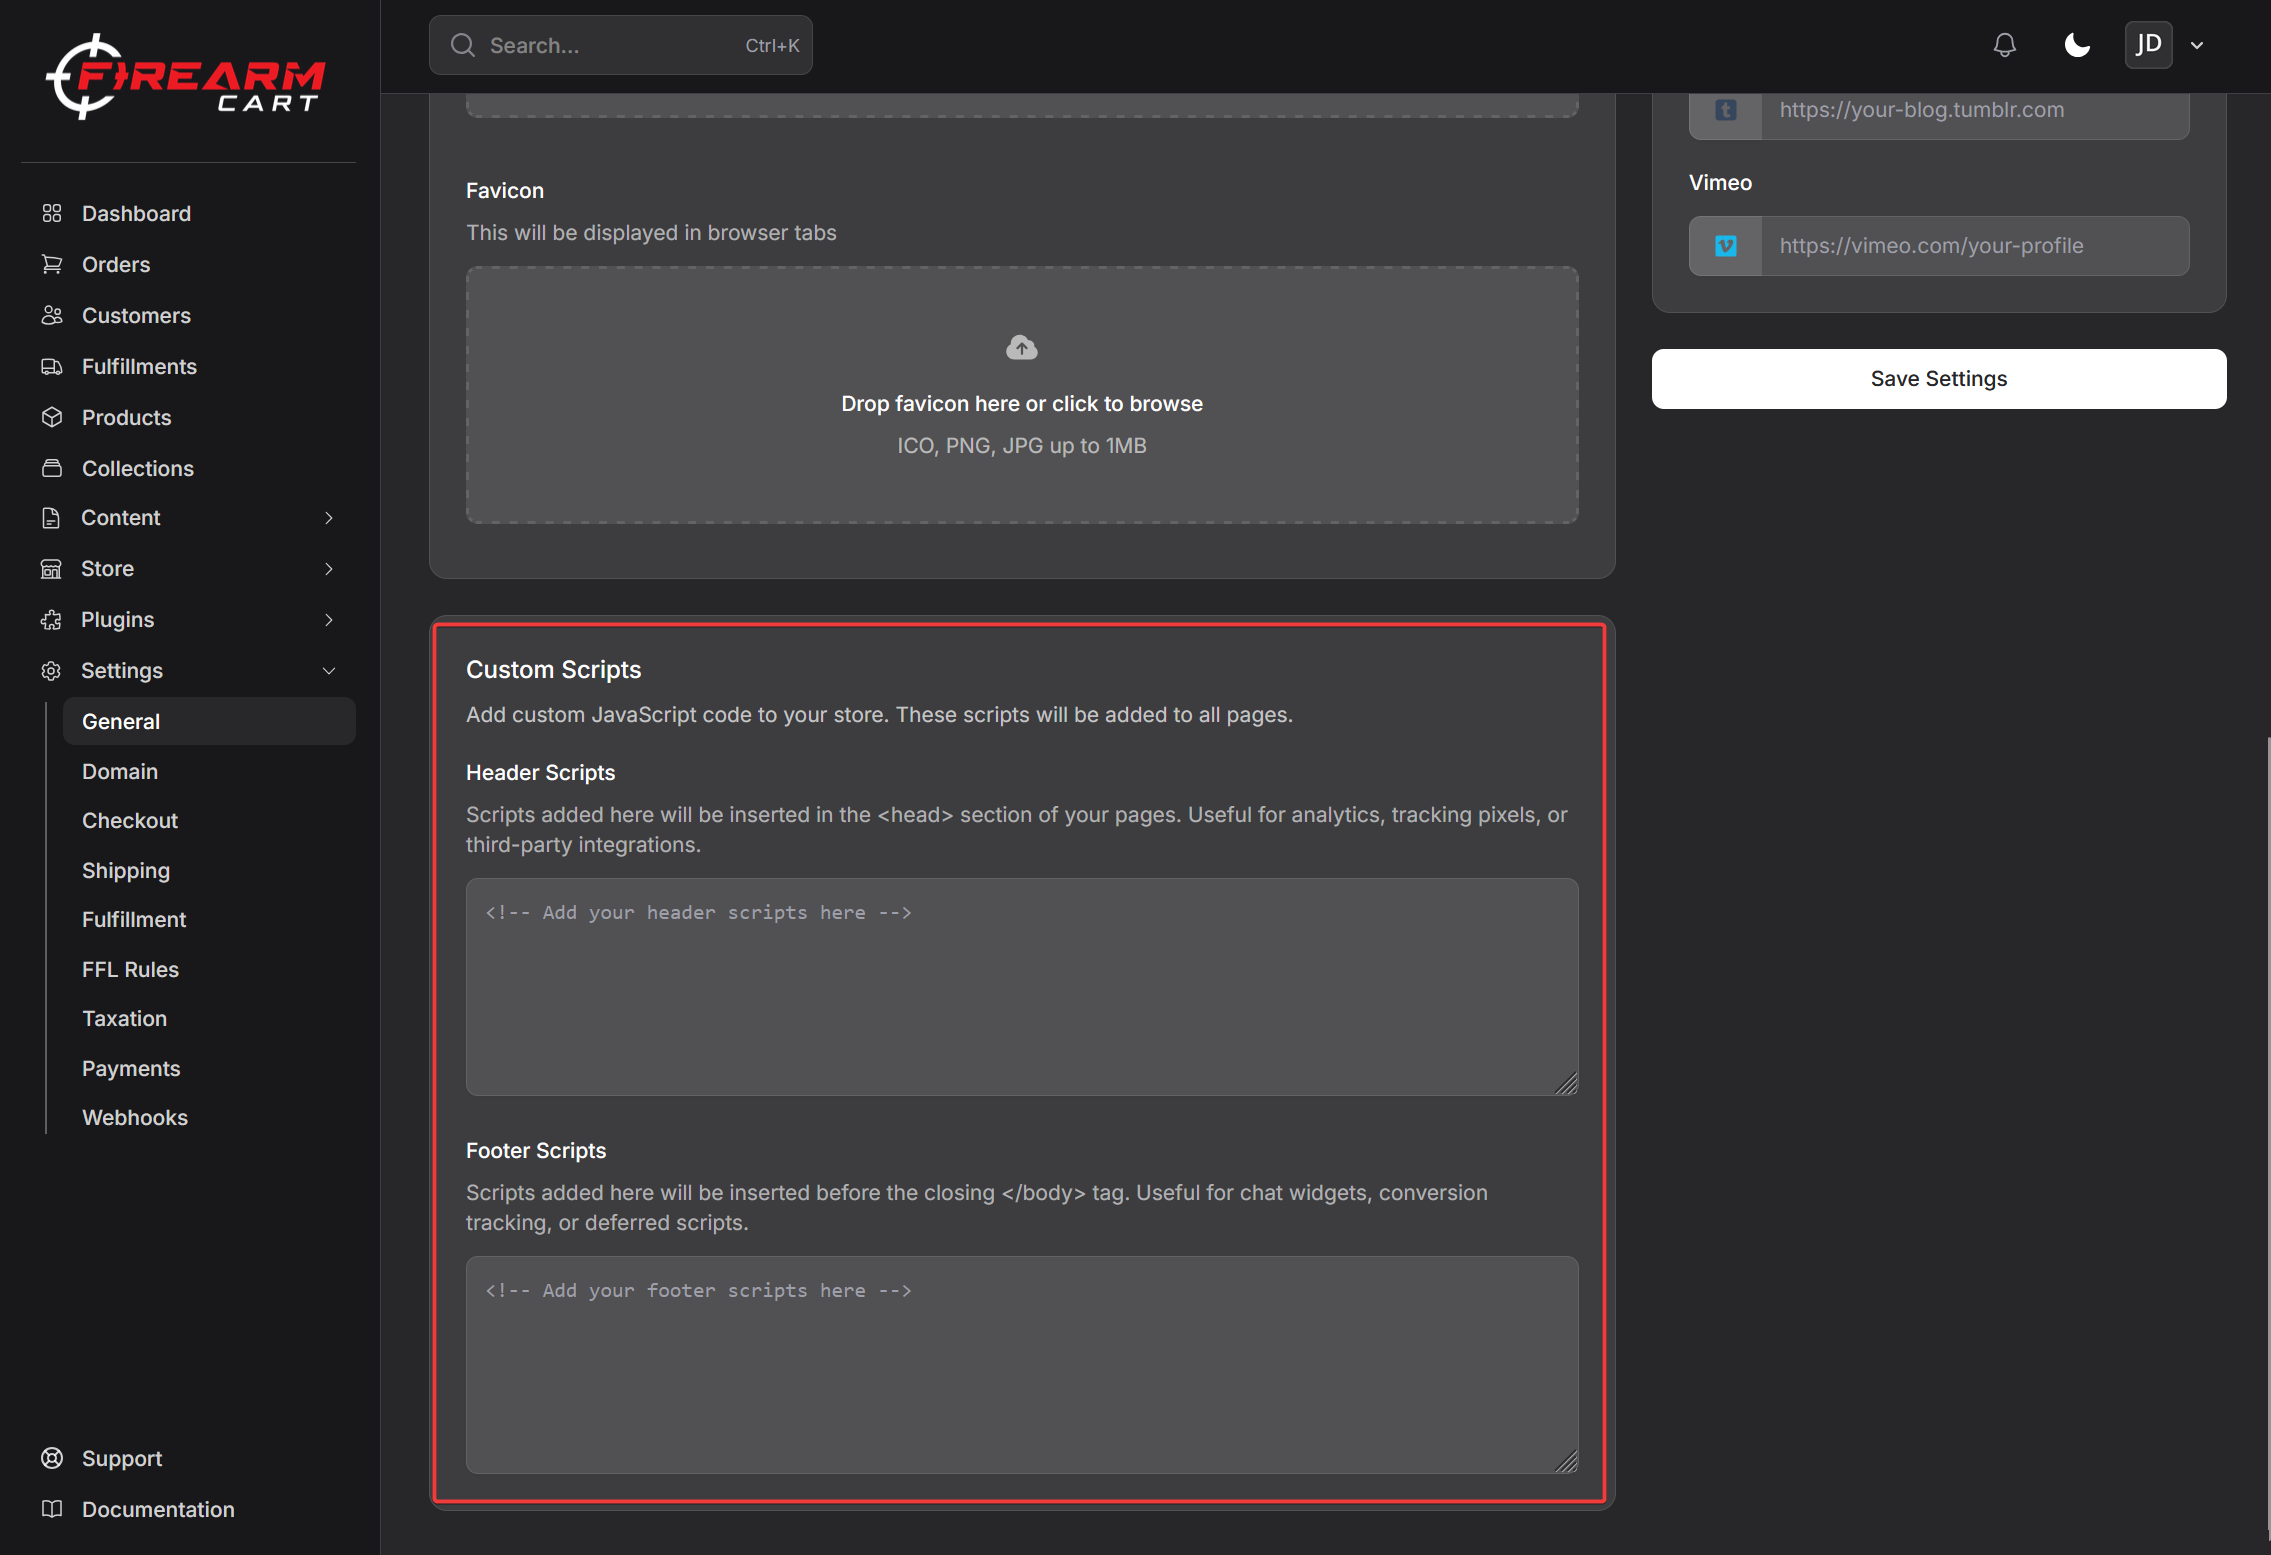
Custom Scripts
Add custom code to your store's header or footer. This is useful for:
- Analytics tracking (Google Analytics, Facebook Pixel)
- Chat widgets
- Other third-party integrations
Header Scripts
Code added here appears in the <head> section of every page.
Footer Scripts
Code added here appears before the closing </body> tag on every page.
Caution: Only add scripts from trusted sources. Incorrect code can break your store.

Saving Changes
After making changes:
- Review all fields
- Click Save Settings
- Changes take effect immediately
Related Documentation
- Custom Domains - Connect your own domain
- Payment Providers - Set up payment processing
- Getting Started - Complete setup guide